Unpacking BattleEye - Article 1
Introduction
Hello everyone, this is the first article in a series of articles about unpacking and reversing BattleEye, the first few article will be about unpacking BattleEye application. This articles are work-in-progress articles.
Our target, the BattleEye application, is packed with VMProtect, we can figure it out after searching for past researches about BattleEye unpacking.
So what is VMProtect?, VMProtect is a commercial software that offers packing and protection for your application. VMProtect is a virtual machine packer, this is not like regular packers that compress the data of the application, and then decompress it in run time using the stub. The virtual machine packing is creating a virtual CPU with custom opcodes, and convert your application to be able to run on the created CPU. The VM based protection, is used to make the reverse engineering of the application extremely hard, because you need to find and reverse each opcode to know exactly what the application is doing.
Unpacking the protection
The packing is highly obfuscated, it has useless jumps and calls, it has lot of useless instruction that I needed to filter out.
After filtering out the useless instructions, we can create a quick summery about the VM itself, the VM is creating its own registers and its own stack, the stack is stored inside the EBP register, and the registers are stored inside the EDI register, the registers is an array on the original program stack (not on the VM stack), and the EDI register is the address of the array.
We have another 2 more important registers, we have the ESI register, that holds the VM instruction pointer, and we have the EBX register that holds the encryption key (we will take a look how it works and how it affect the program later).
We can split the VM operation to 3 steps: initialize the VM, getting and dispatching the command, and running the command.
Step 1: initialize the VM, in this step we are creating the stack of the VM, creating the registers array, storing the VM instruction pointer into the ESI register, and also creating the encryption key.
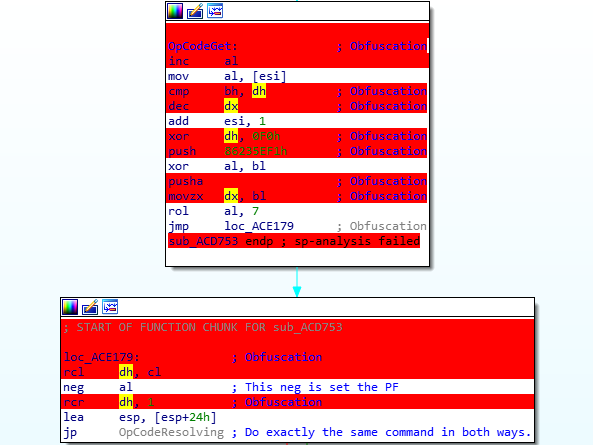
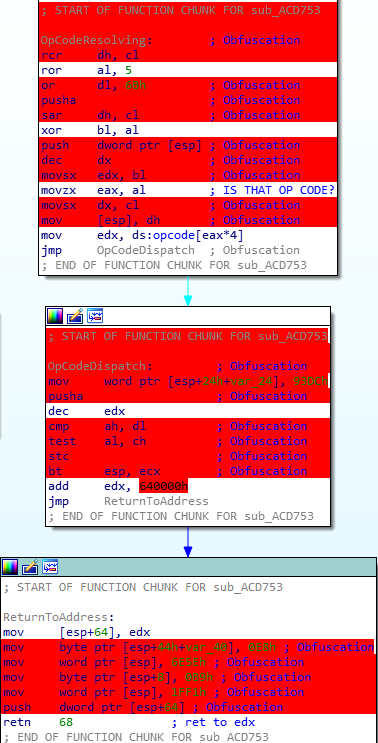
Step 2: where we are getting and dispatching the command, We are getting the opcode from the VM Instruction pointer, the opcode is the size of 1 byte, We are incrementing the VM Instruction pointer, after We have the opcode, We start to decode the opcode, We are XORing the opcode with the encryption key, and do some more mathematical operation on the opcode, then We are XORing the encryption key with the decoded opcode, We are getting the handler of the opcode from hander’s table, pushing the handler into the stack, and dispatching the opcode by returning into the handler.
Step 3: just running the command, and loop into the second step.
We are getting the command from the VM instruction pointer
We are getting the handler, and dispatching it.
Reverse the unpacking
Now that we know how the VM is working, we can start to reverse engineering the opcodes and the application itself, I created an emulator to emulate the application, I passed over each opcode and reverse it.
The application loading kernel32.dll, and get the VirtualProtect function, afterwards changes the protection of the application segments, to be able to write to them, afterwards the application loading function, encrypt their loading address, and write it into the application. After all the loading, the application call VirtualProtect again on the application segments, and return their protection to their old ones.
The next step is that we return into unpacked code, the unpacked code is initializing global variables, the initializing code is using the loaded functions.
Most of the work in this part, was to reverse each opcode, and create the emulator.
What’s next and used tools
In light of this article representing the start of a series, you can expect more reversing and fun to come. I’ve came to the decision to create a debugger plugin for x64dbg to be able to debug the VM more easily, this plugin will be presented in the next article.
I will upload all my tools into my github
Thank you for reading :).